

Get Started
Welcome to Silvana Book. Follow this step-by-step guide to create your account and complete the onboarding process.Step 1: Create Account
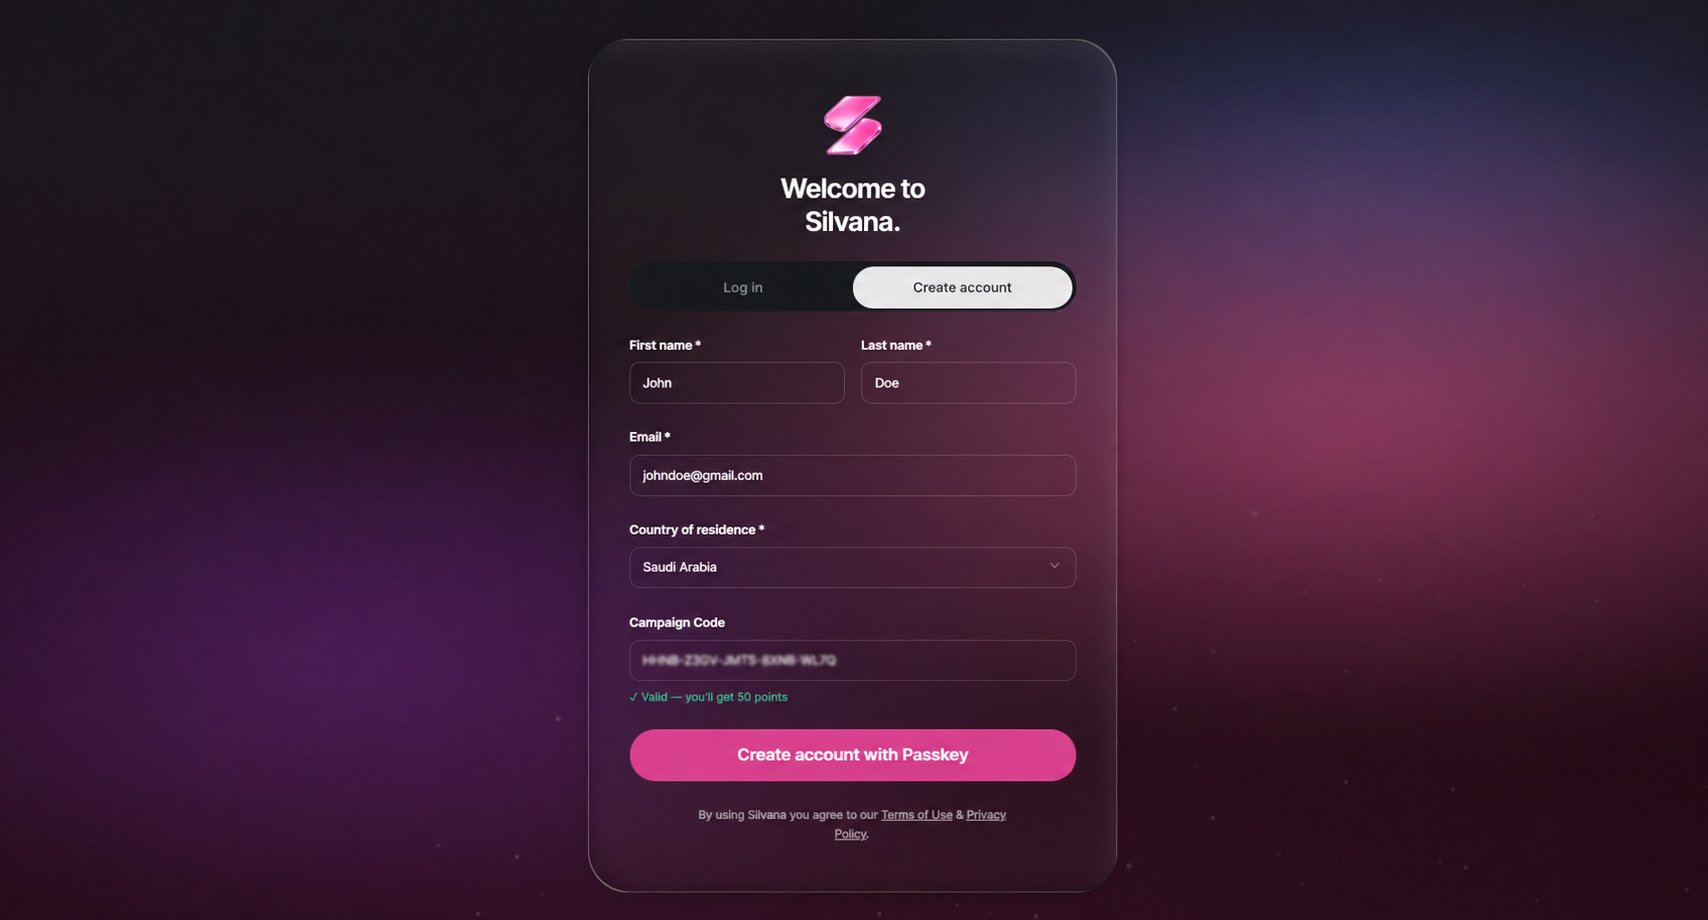
Open the Silvana App and select Create account. Complete the registration form with the following information:- First name
- Last name
- Country of residence
- Campaign or referral code, if one has been shared with you.
Step 2: Verify Email
A verification message will be sent to the email address entered during registration. Open the message and follow the verification link. Once your email has been confirmed, return to Silvana to continue onboarding.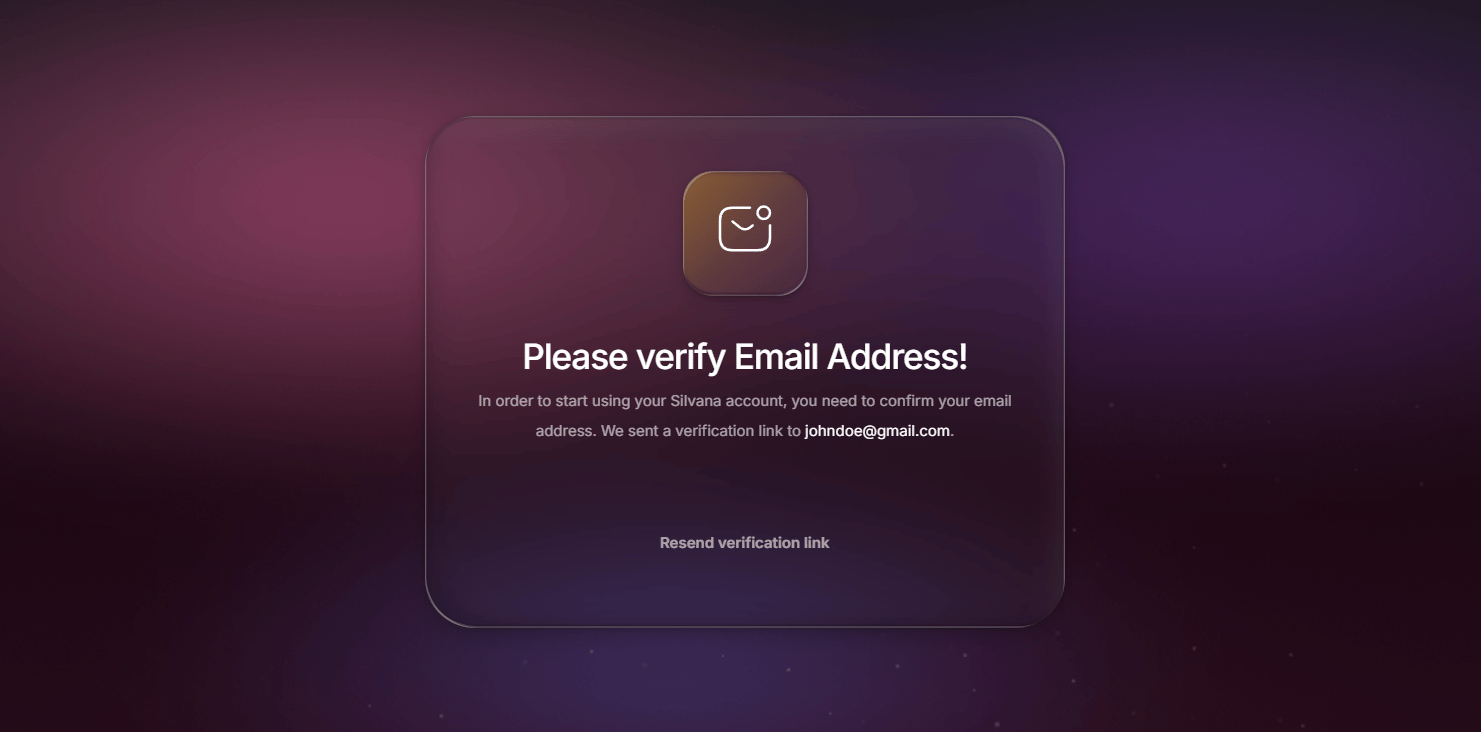
Step 3: Complete KYC
After verifying your email, complete the KYC process by following the on-screen instructions and submitting the required information. After completing your KYC, you’ll see the following screen while your verification is being reviewed.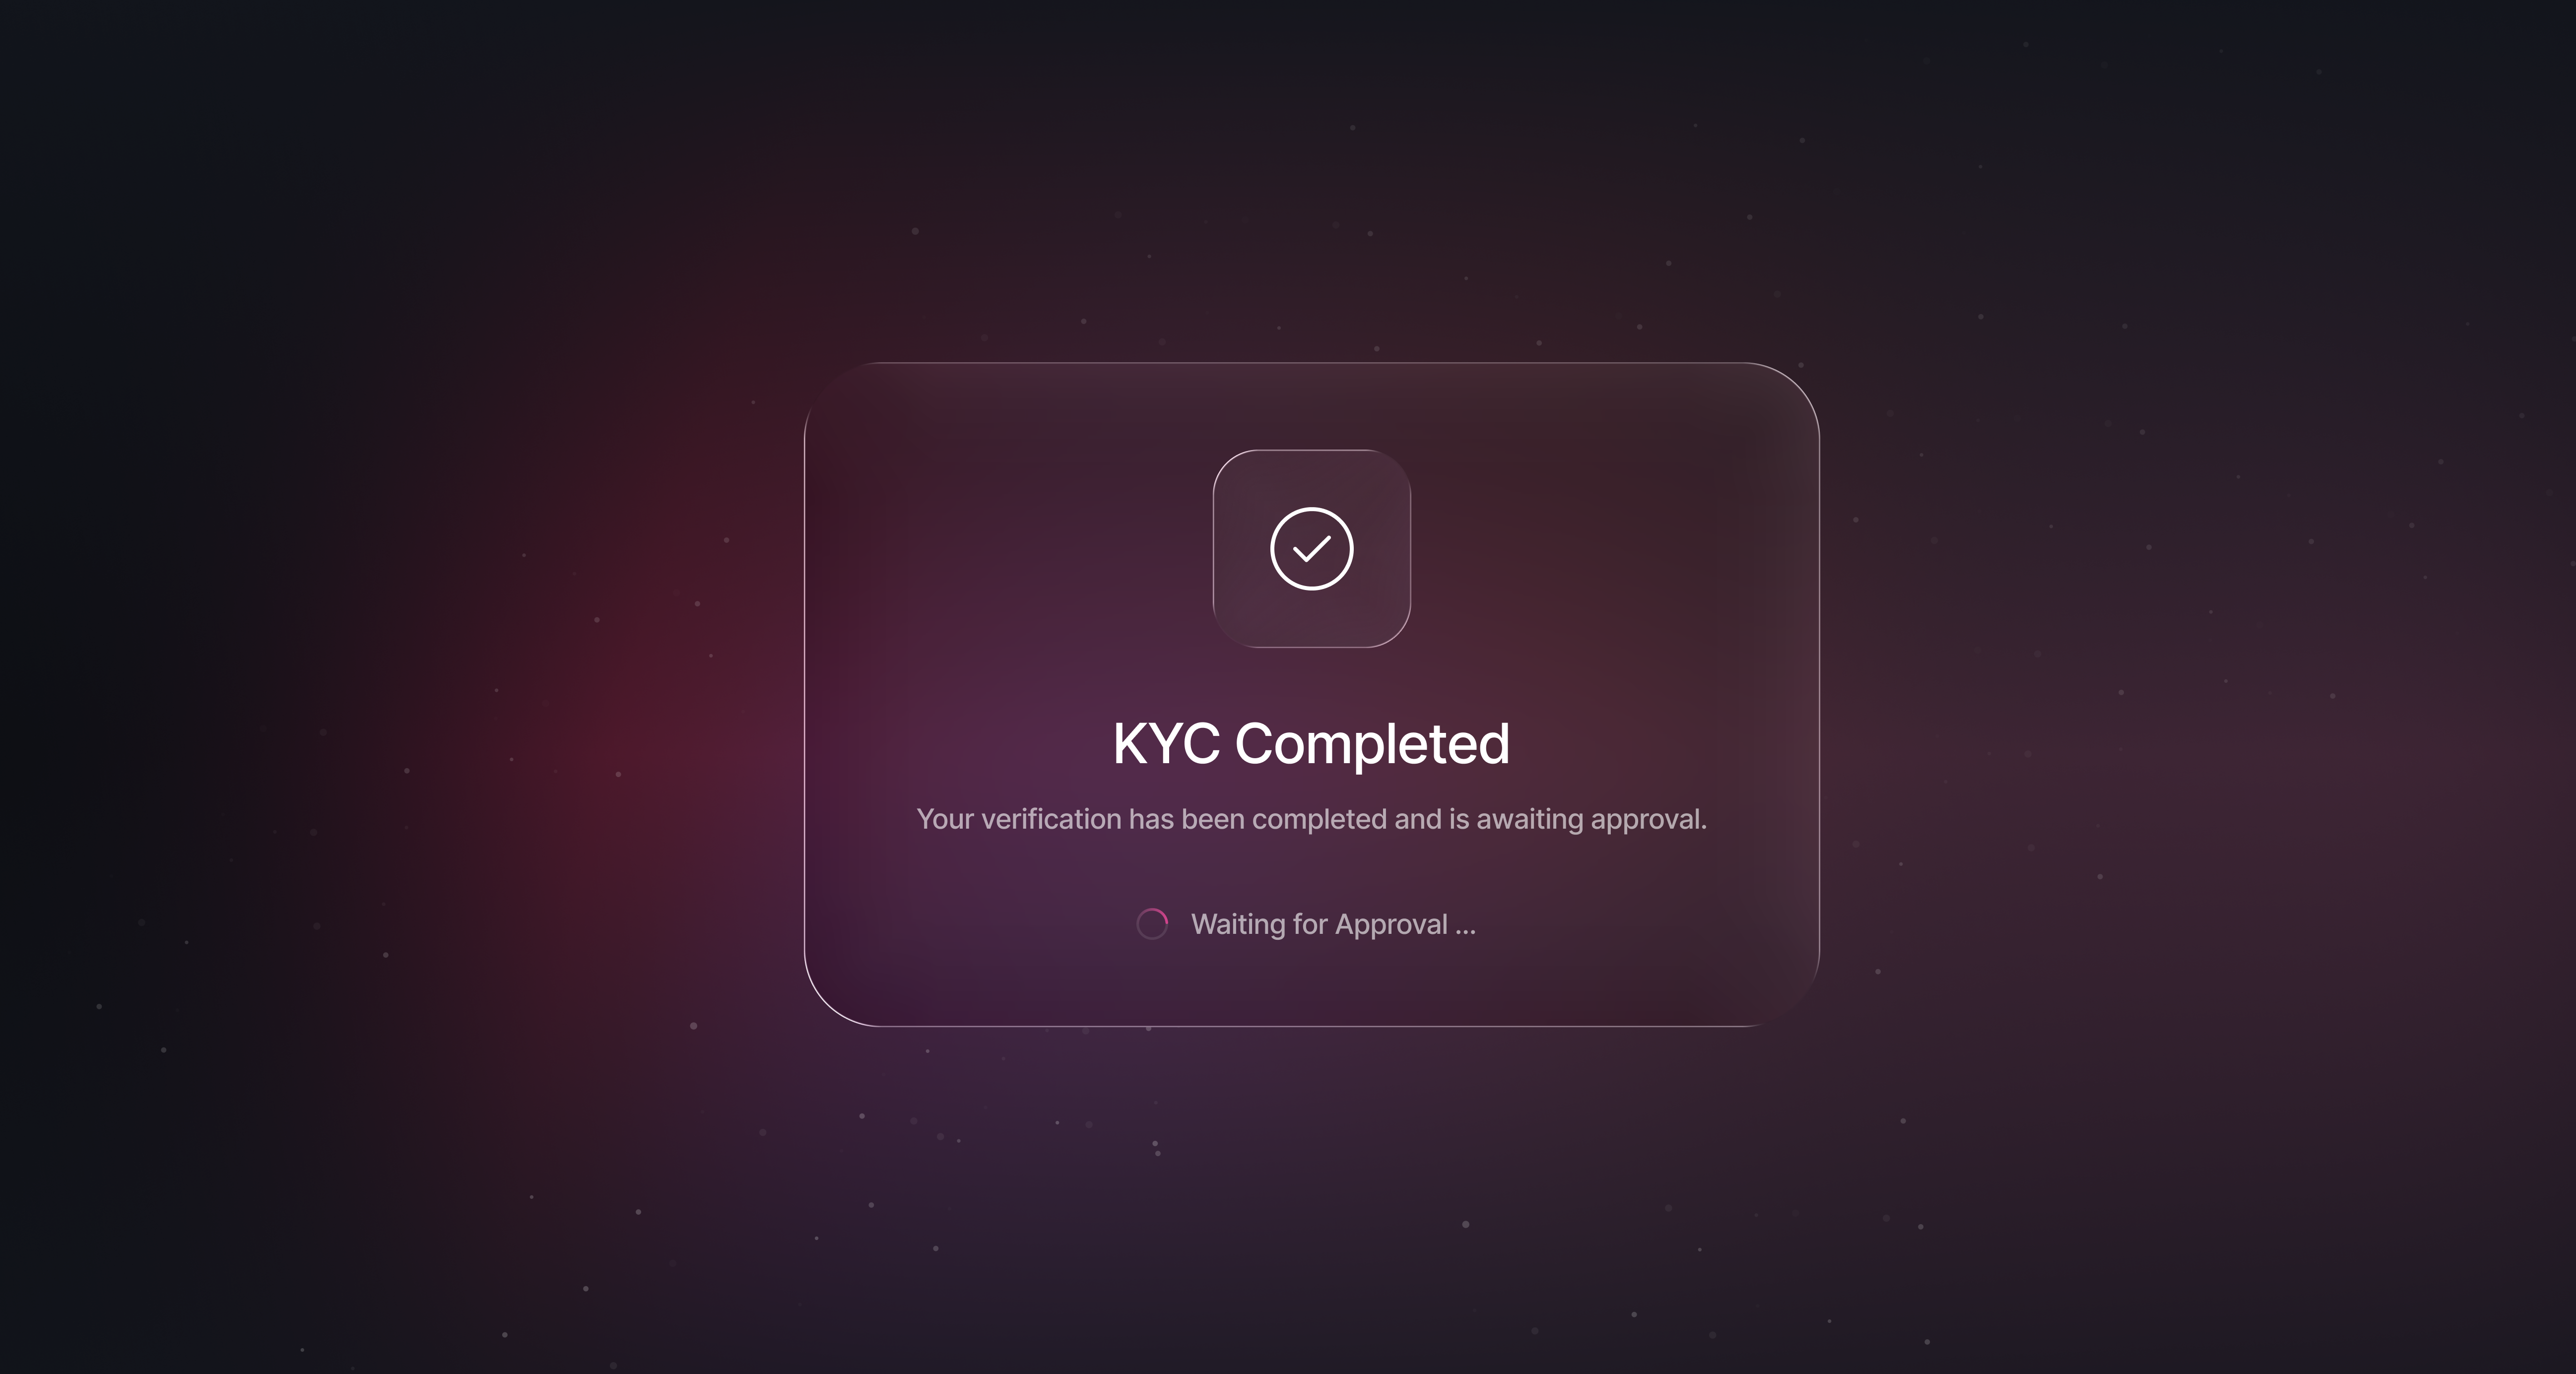
Step 4: Connect Wallet
Now open the Silvana app and select Connect Wallet. Choose a supported wallet and approve the connection request. The wallet is used to access balances, place orders, and confirm trading and settlement actions. Voila! Now you’re good to go. Use Silvana Book and enjoy yourself!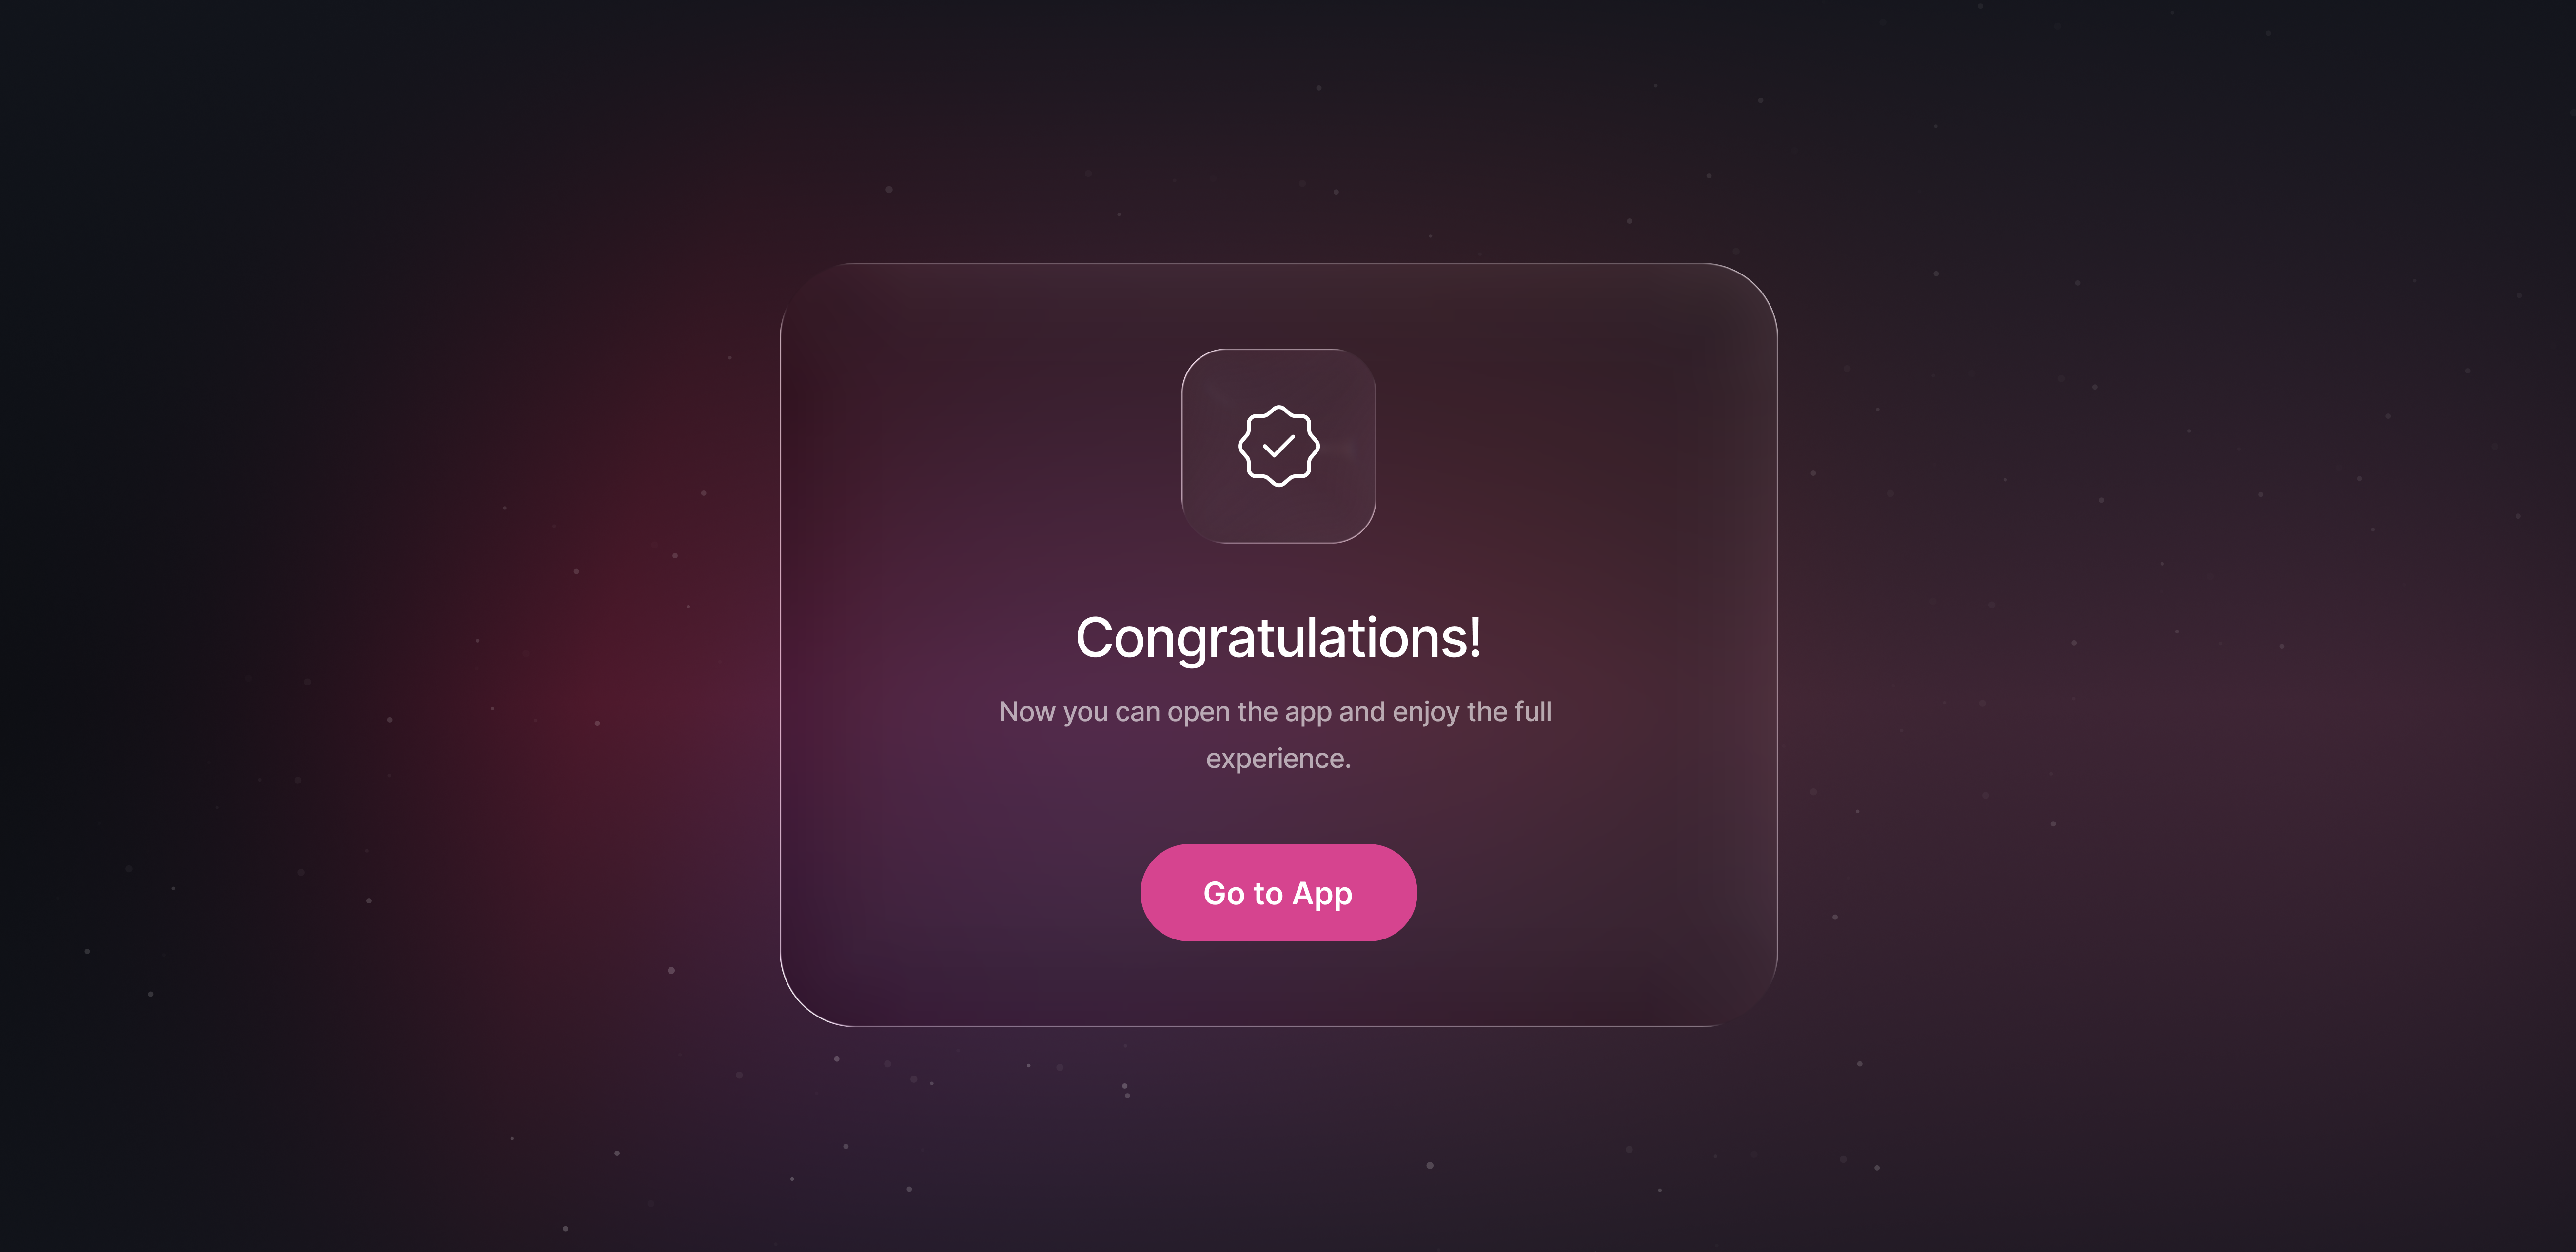
Passkey Recommendations
- Use Chrome or Brave if you experience repeated passkey issues.
- Allow browser pop-ups during authentication and wallet approval.
- Check other browser tabs if the login screen appears to be stuck.
- Avoid switching browsers during authentication on mobile devices.